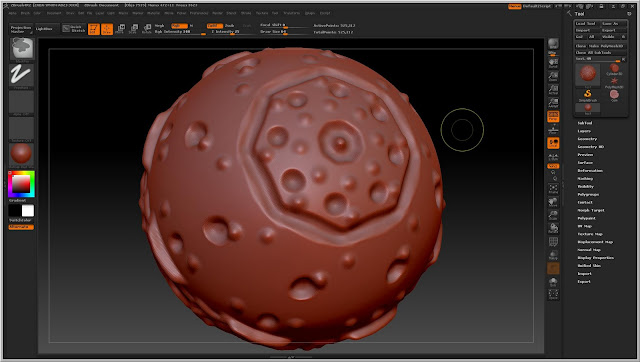
This is an example of what can be done using the Active Symmetry tool.
This can be useful for many things and it can be duplicated on any axis, which is good when you are creating a near symmetrical object. After you can always use the tools with there default settings to add variance and detail to the object, such as me adding bulges to the sphere to give the feel of a real living object.
This setting can be found at the top bar menu, in which you can choose where to mirror the geometry to while you are sculpting.
I found this to be a very helpful tool, especially for faces as they are not symmetrical but they are near enough that with a few tweaks afterwards you can get a great looking face.


No comments:
Post a Comment